
Home
"POS Cobra" Restoration Journal
Titanium Motorsports Racing Journal
Parts & Stuff
For Sale
PRI Show
The Lounge
I started by making a list of parts that would be needed for the rebuild. Of course the parts that failed would need to be replaced, but some parts are only available in engine sets, so there was some decision making to take place.
Pushrods: I had always used Ford Racing pushrods on all my motors and had never had an issue. So I ordered a full set to replace the Comp Cams ones that had failed.
Rockers: I called Lunati Cams and they were able to set me up with two new roller rockers to replace the damaged ones.
Gudeplates: The AFR guideplates are sold only in a set of eight, so that is what I ordered from Summit Racing.
Screw-in Studs: I picked up a set of ARP studs from Murrays Speed and Custom in WPB. The ARP units are far superior to the ones AFR included with the heads.
Roller Lifters: I picked up two Sealed Power units, as the others were fine.
Motor Mounts: The polyurethane of the drivers-side Prothane mounts that I had been using had started to bulge. So, I ordered a new set from Summit Racing.
Gaskets: Ford Racing Oil pan gasket and Fel-Pro everywhere else. I normally re-use valve cover and exhaust gaskets, but this build was a little different, as you will see below.
The new parts and gaskets for the motor started arriving pretty quickly. There was clean-up to do first. All the old gasket material and RTV would need to be removed from all the mating surfaces. The first parts to go back in were the camshaft and timing set, followed by the front cover, water pump, harmonic balancer and pulleys, followed by the freshly cleaned oil pan to button up the bottom end.
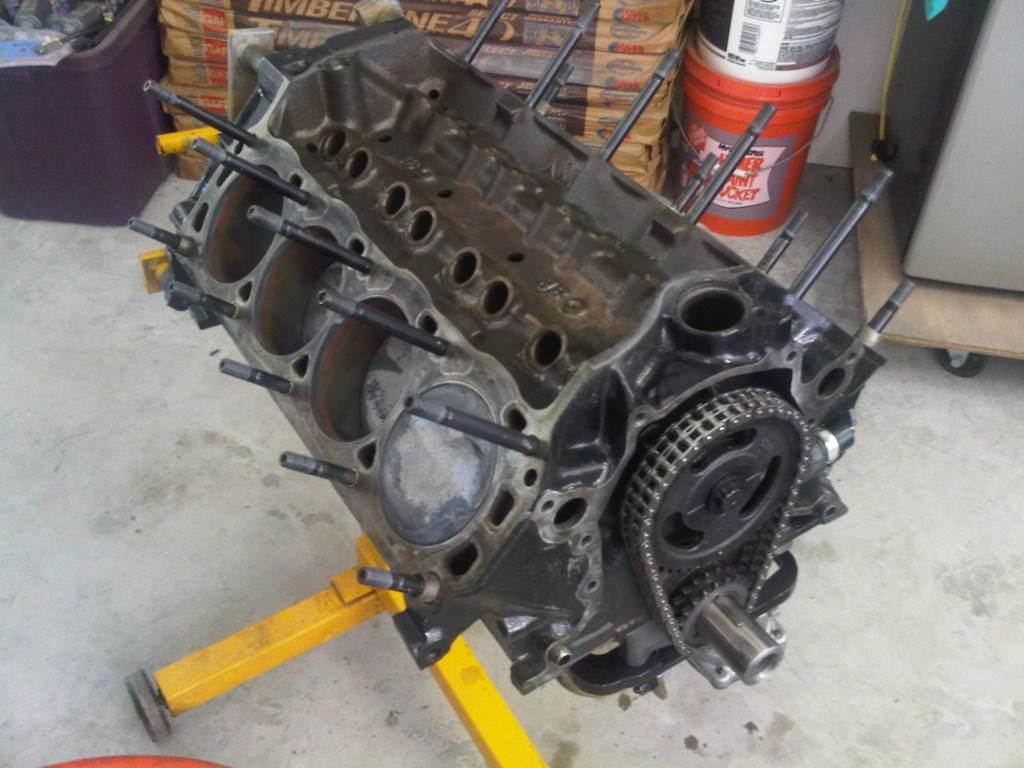
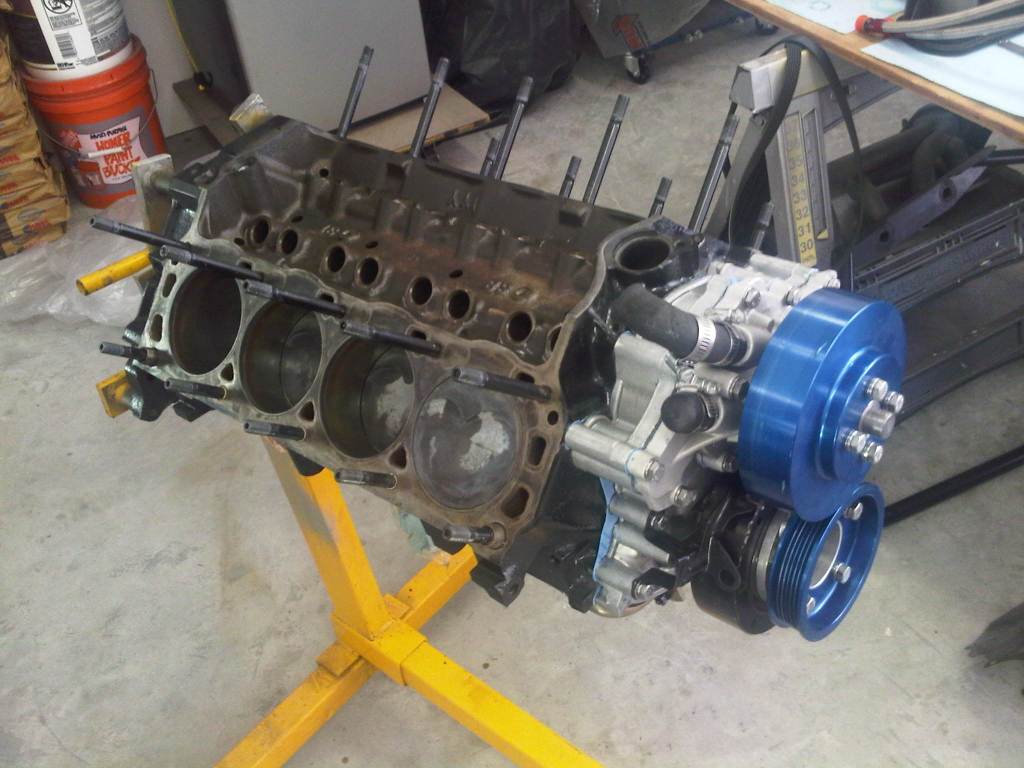
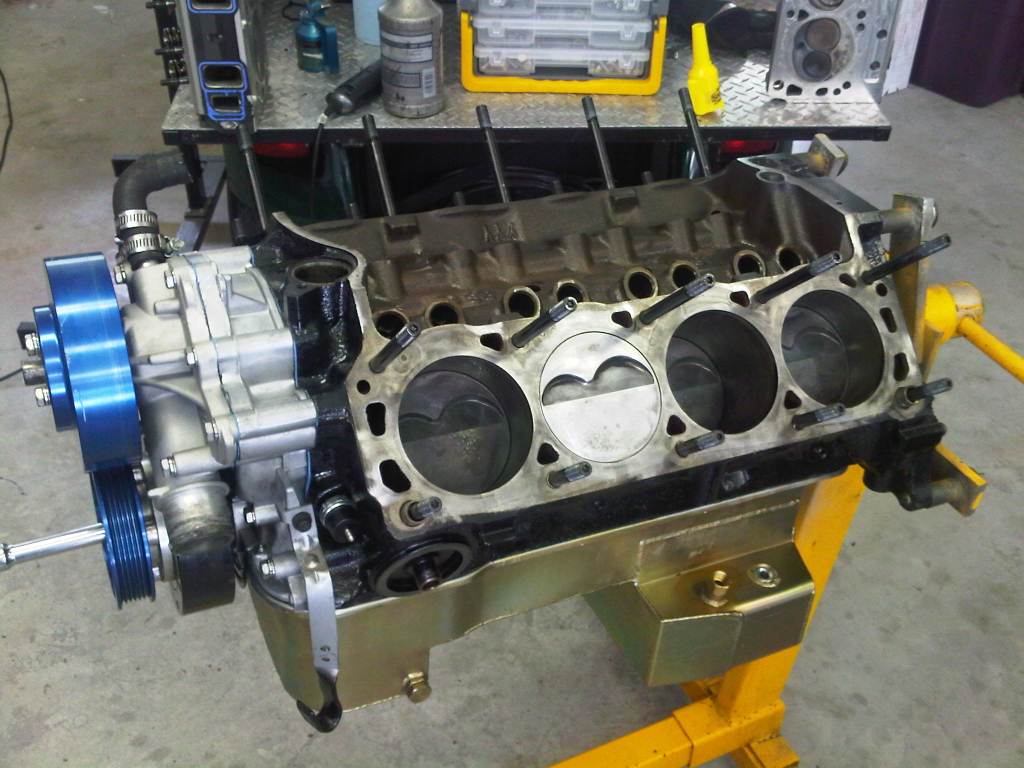
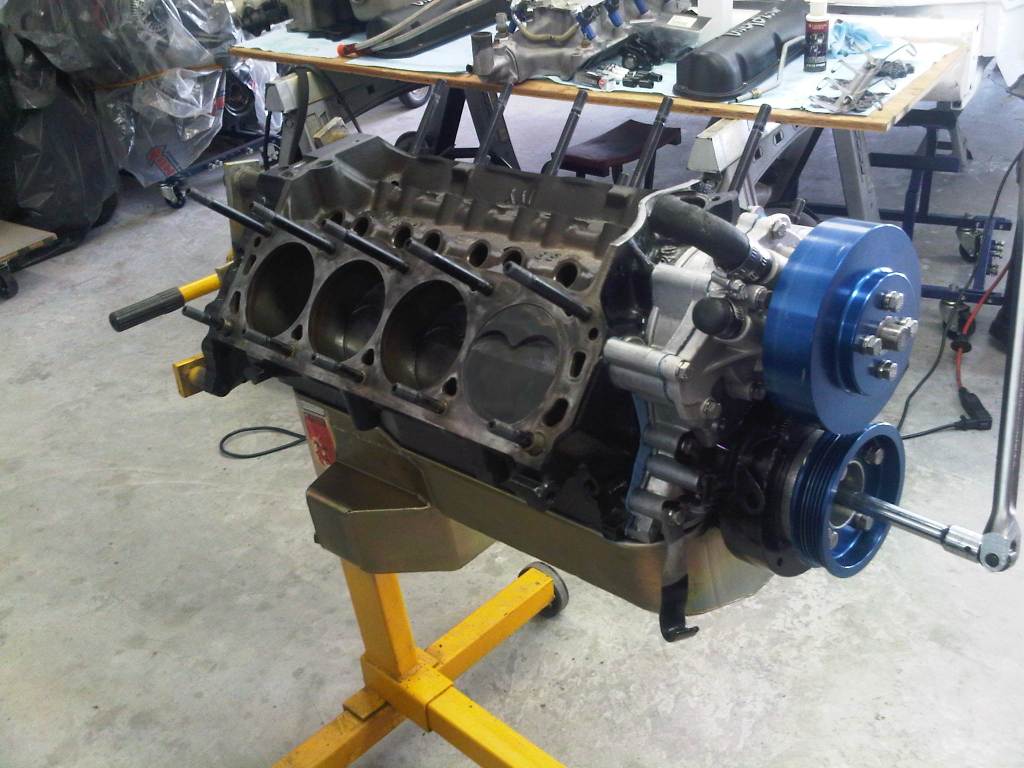
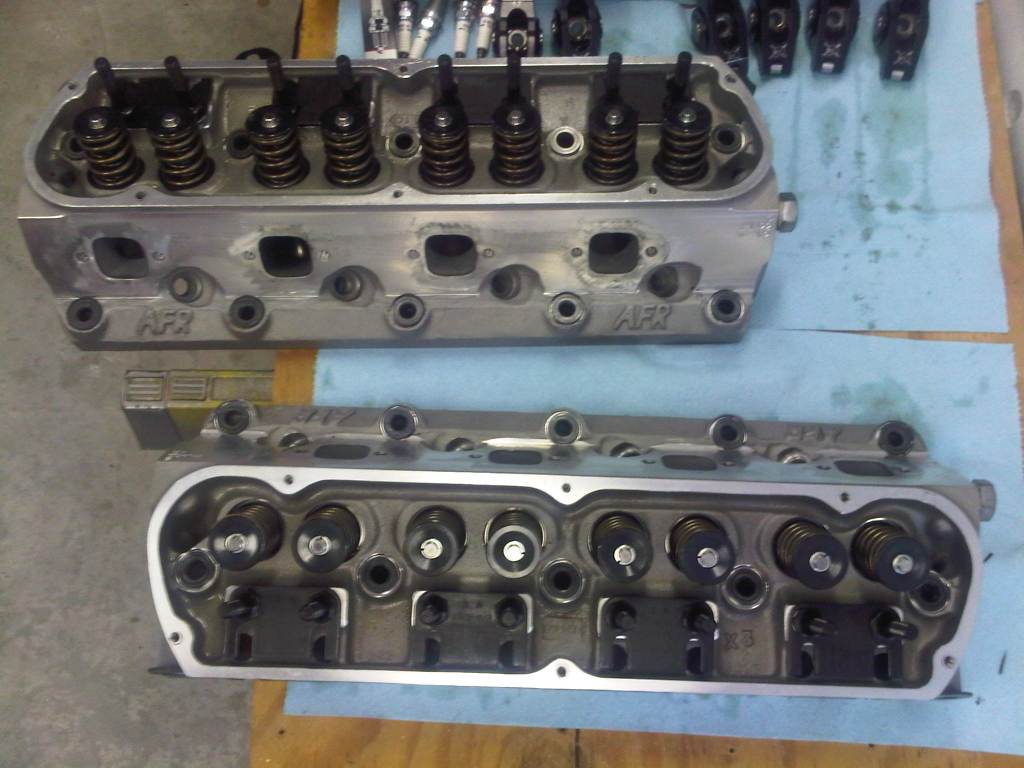
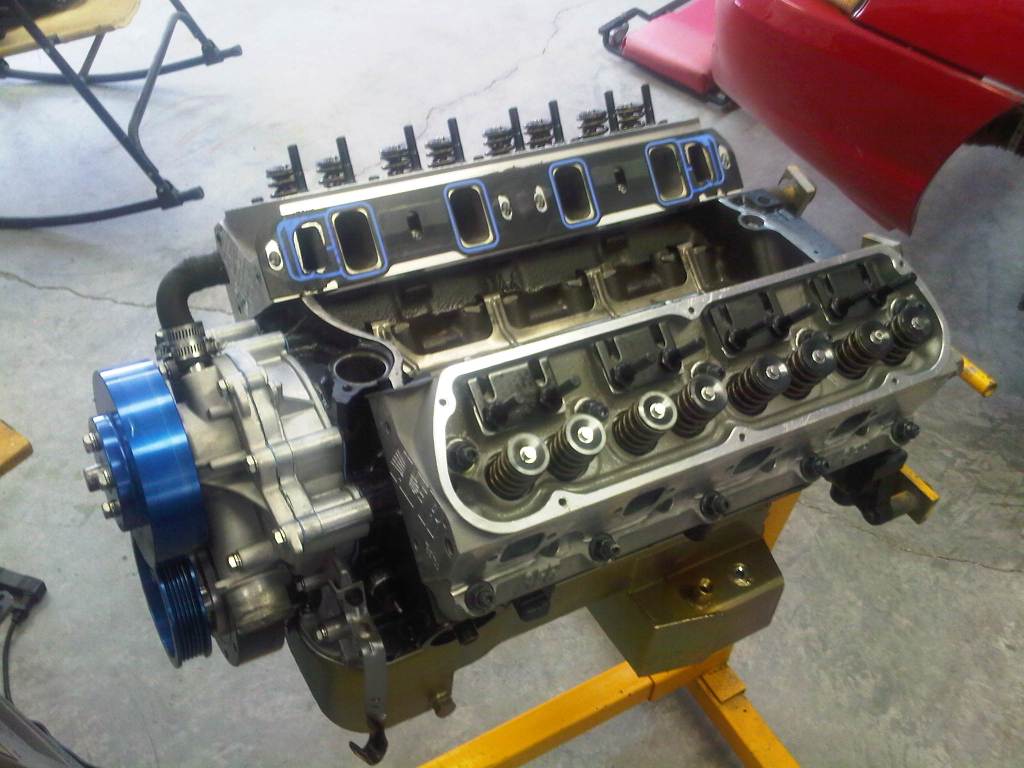
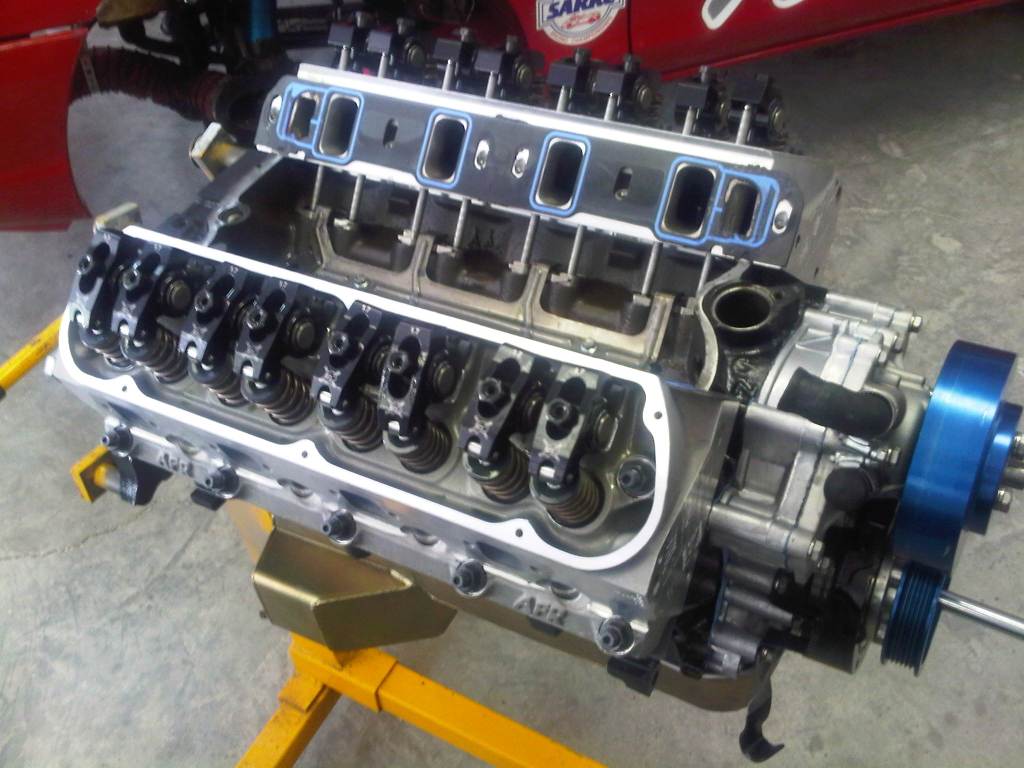
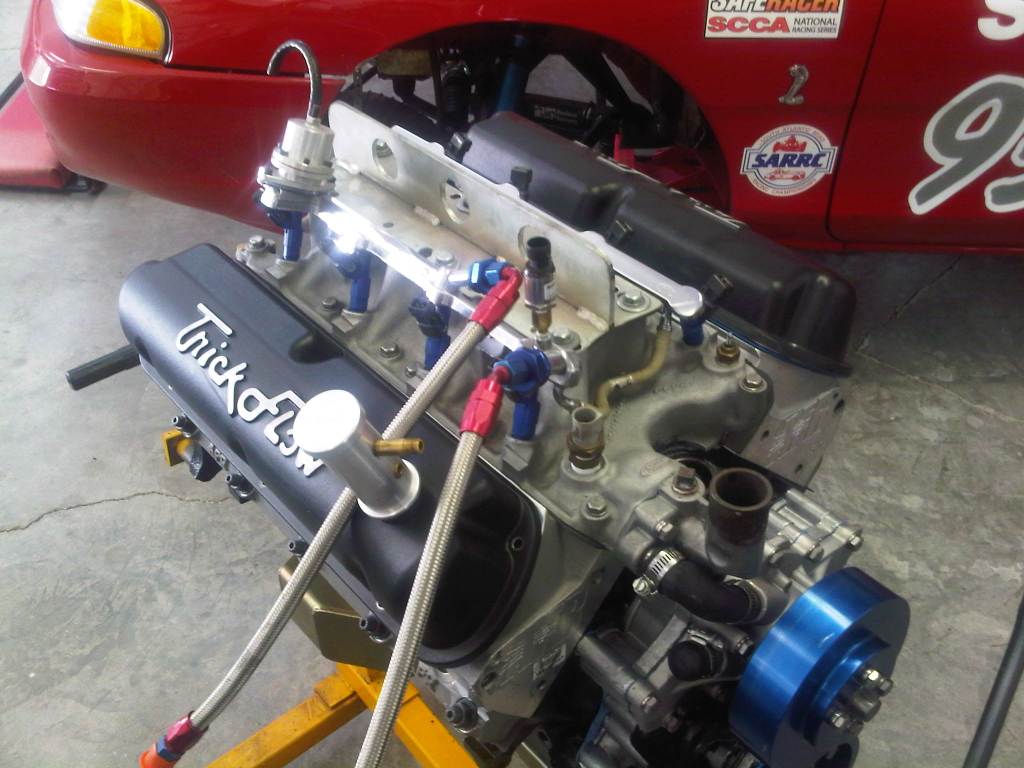
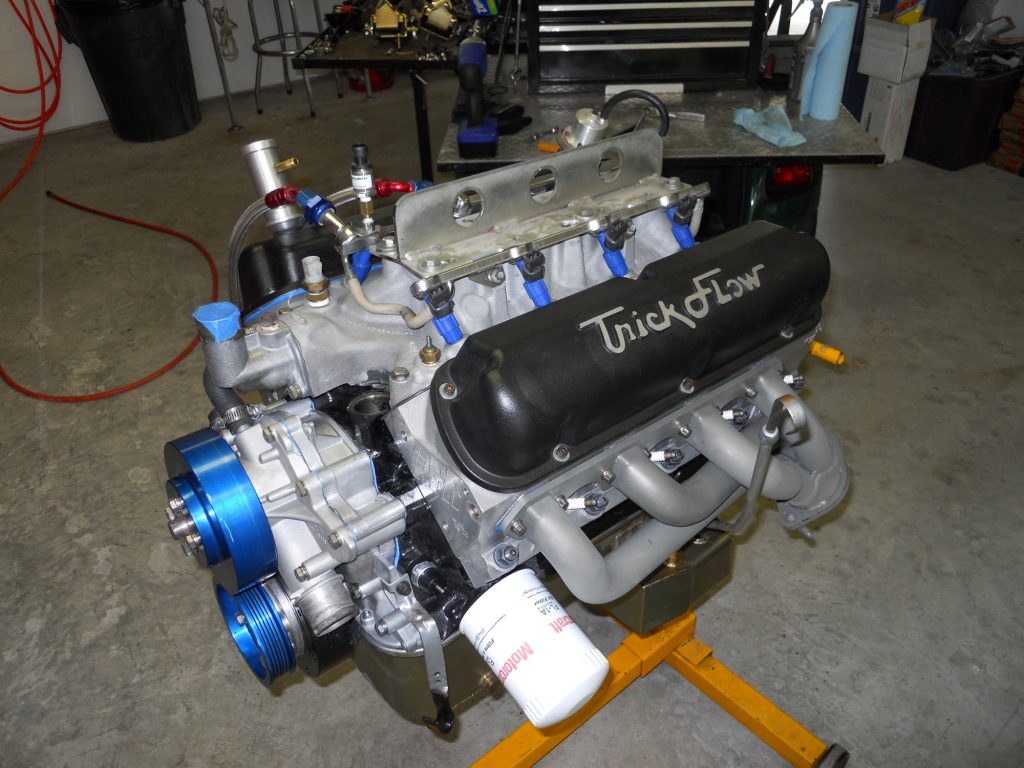
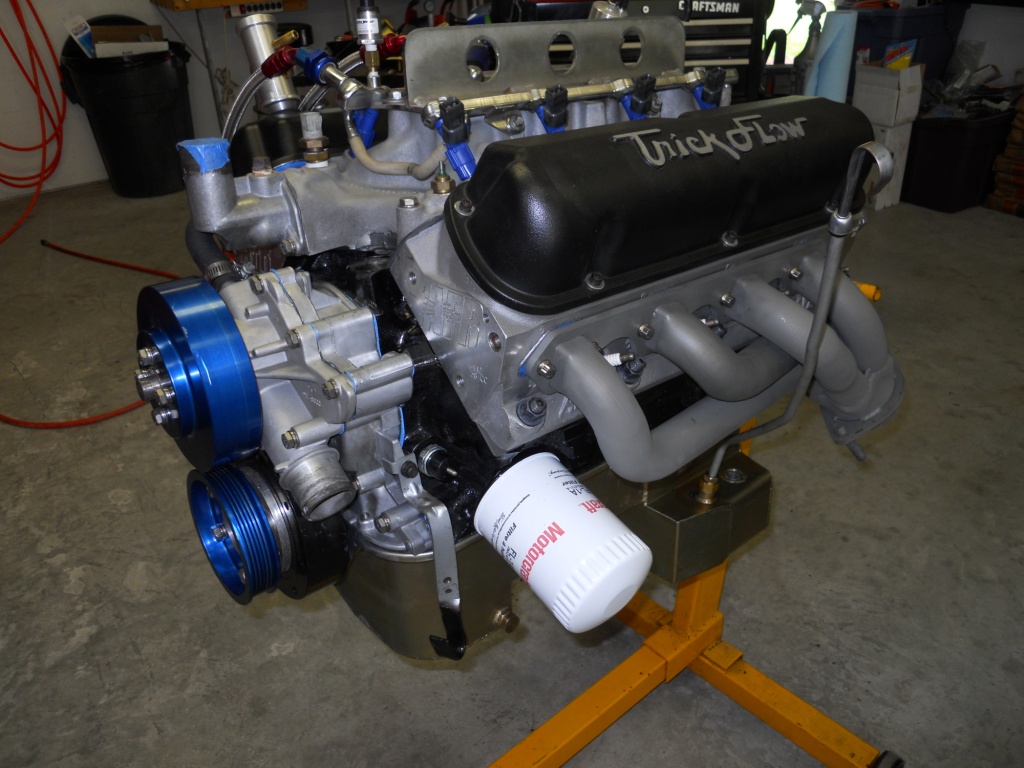
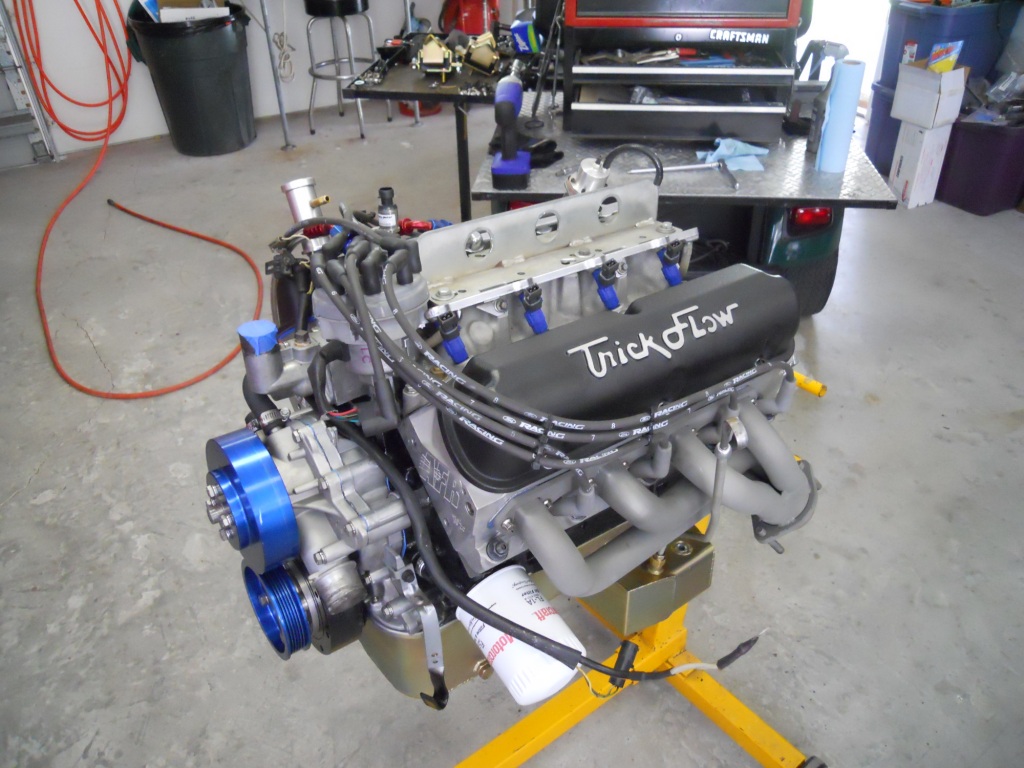
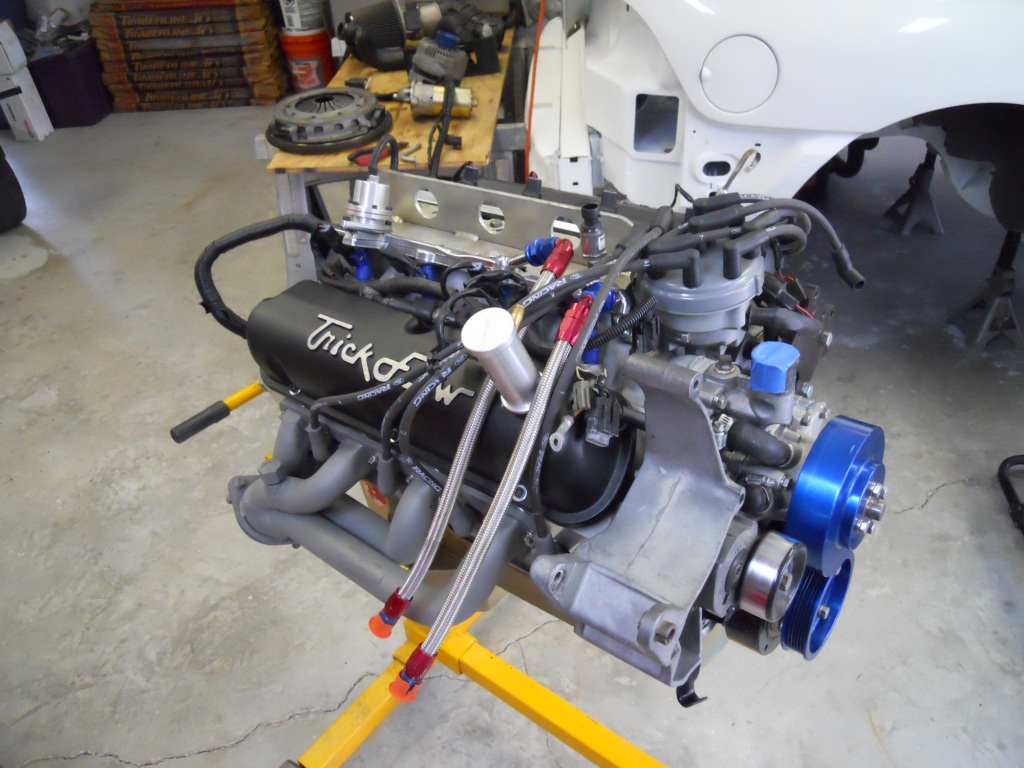
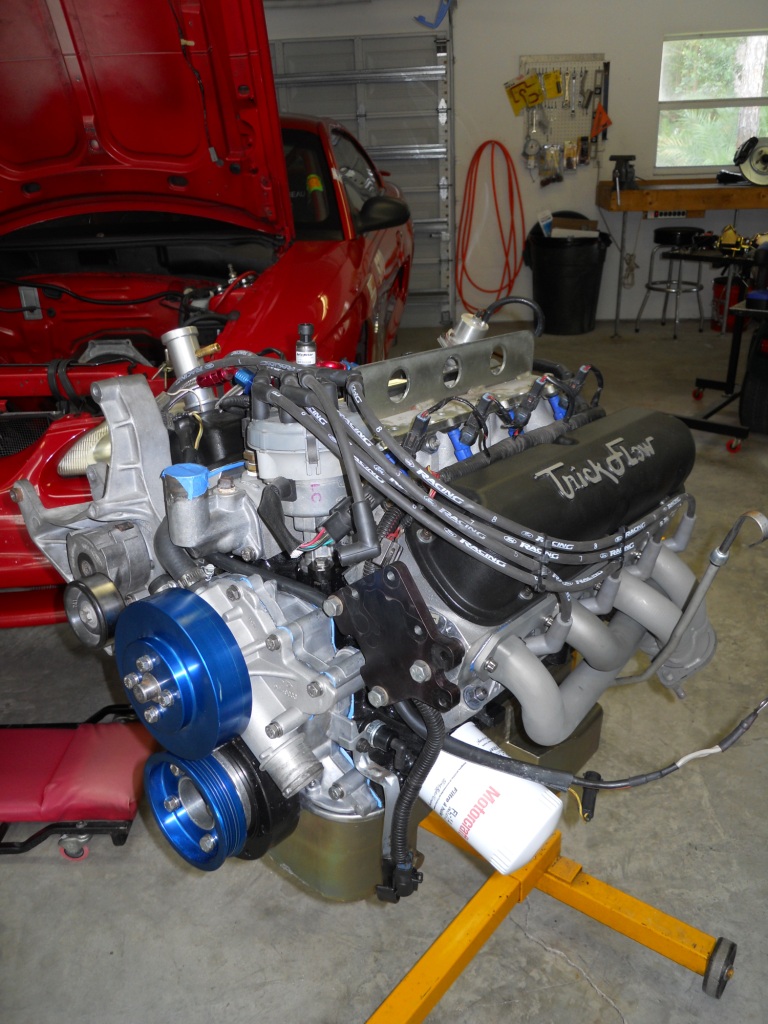
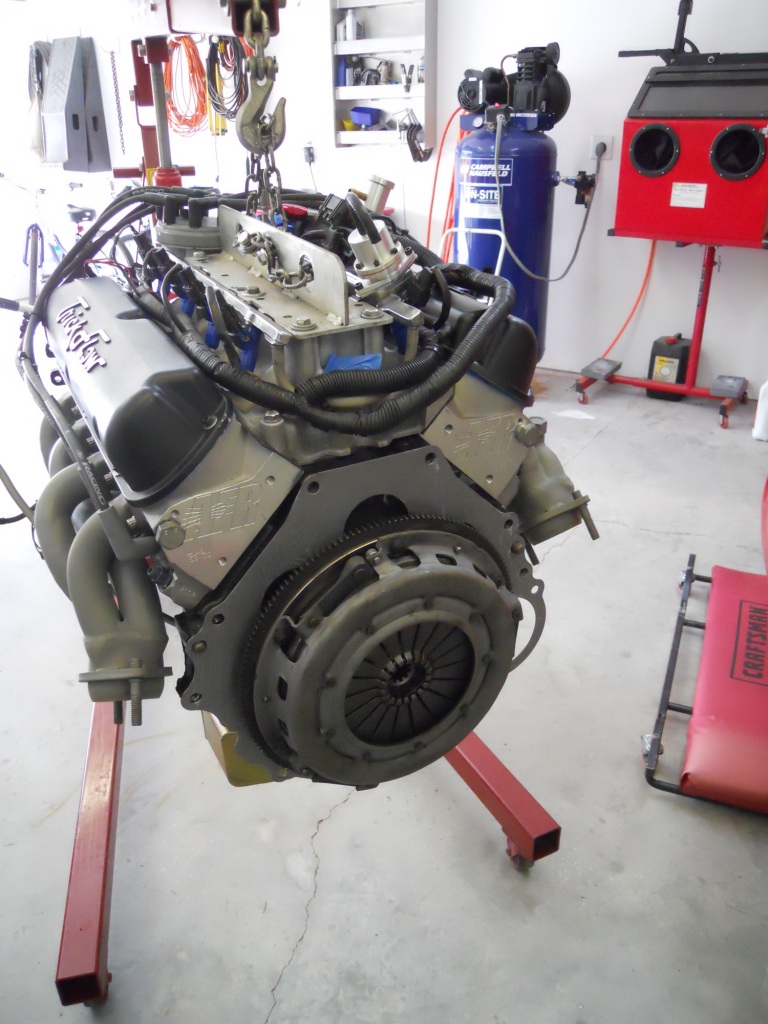
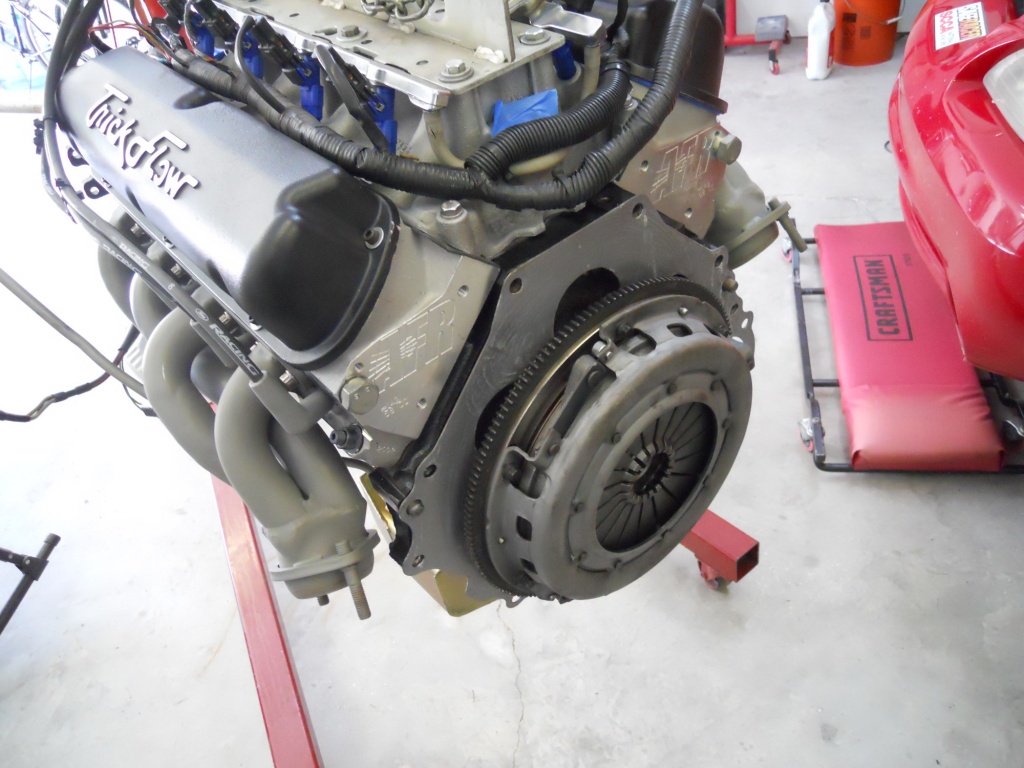
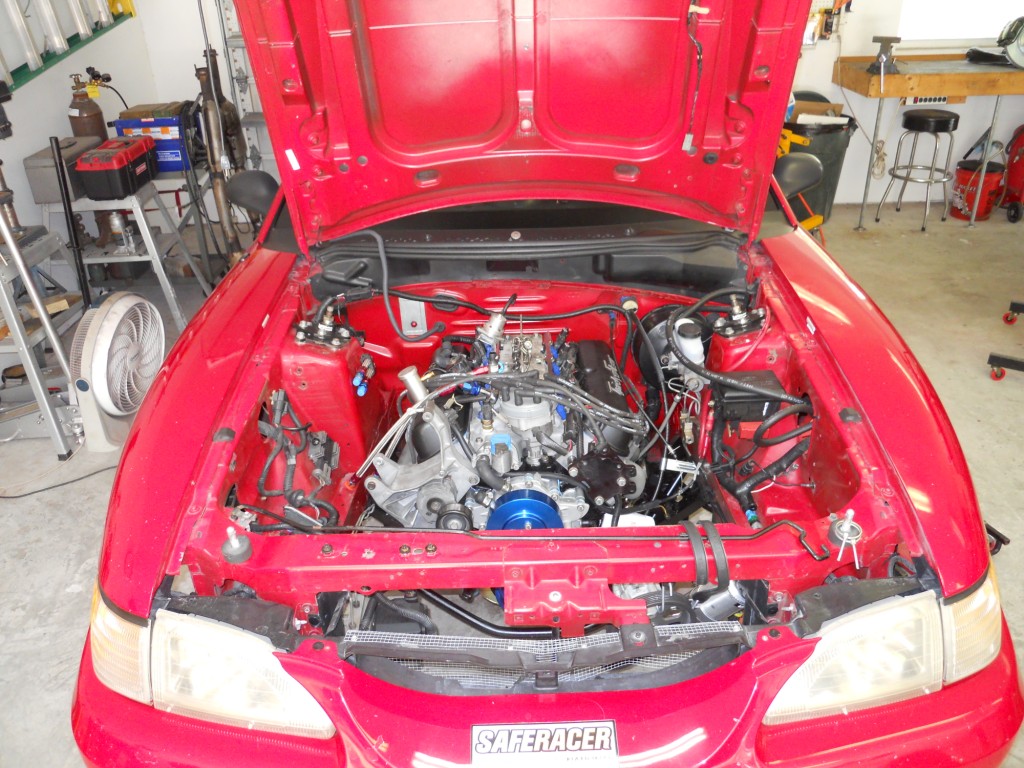
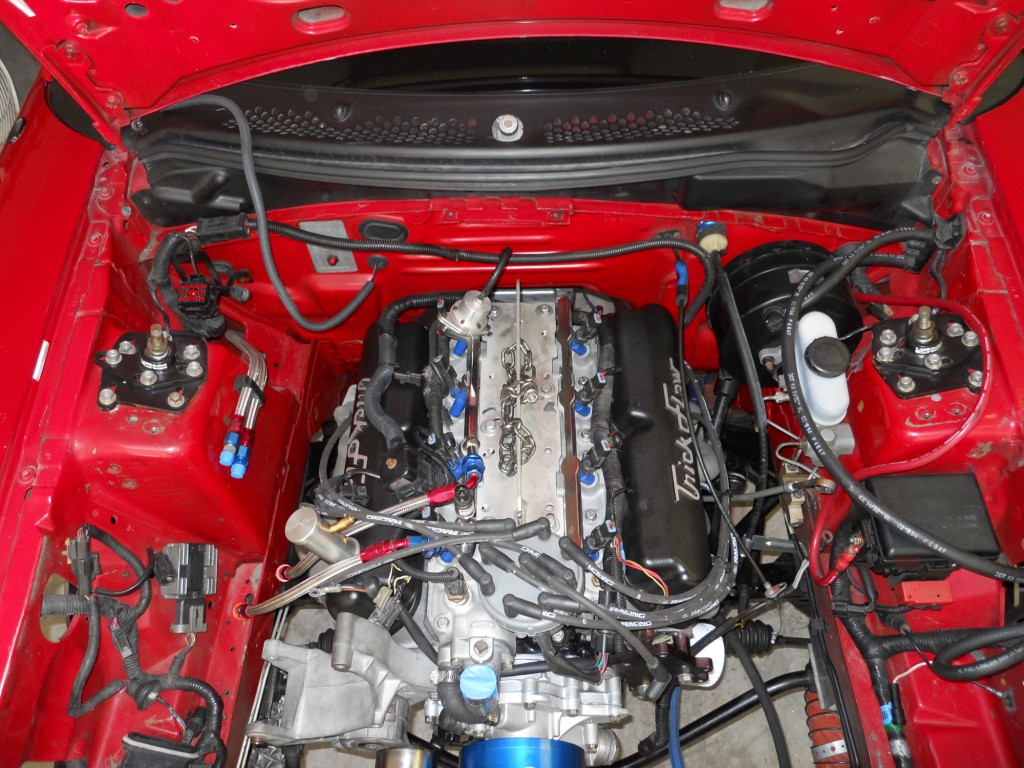
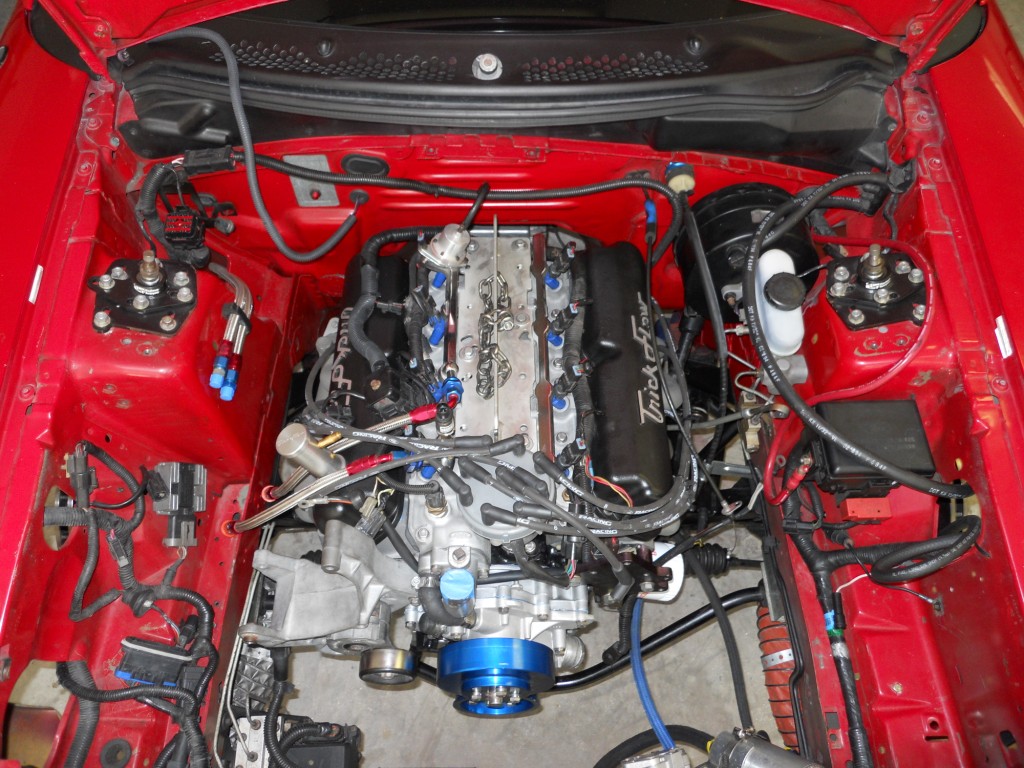
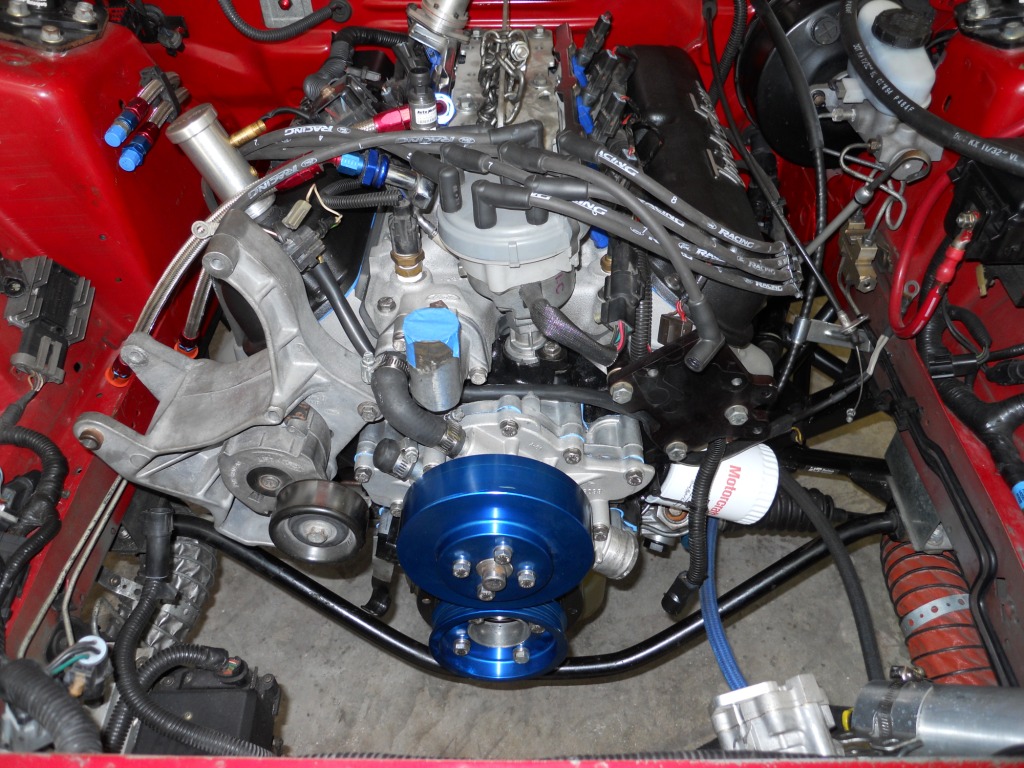
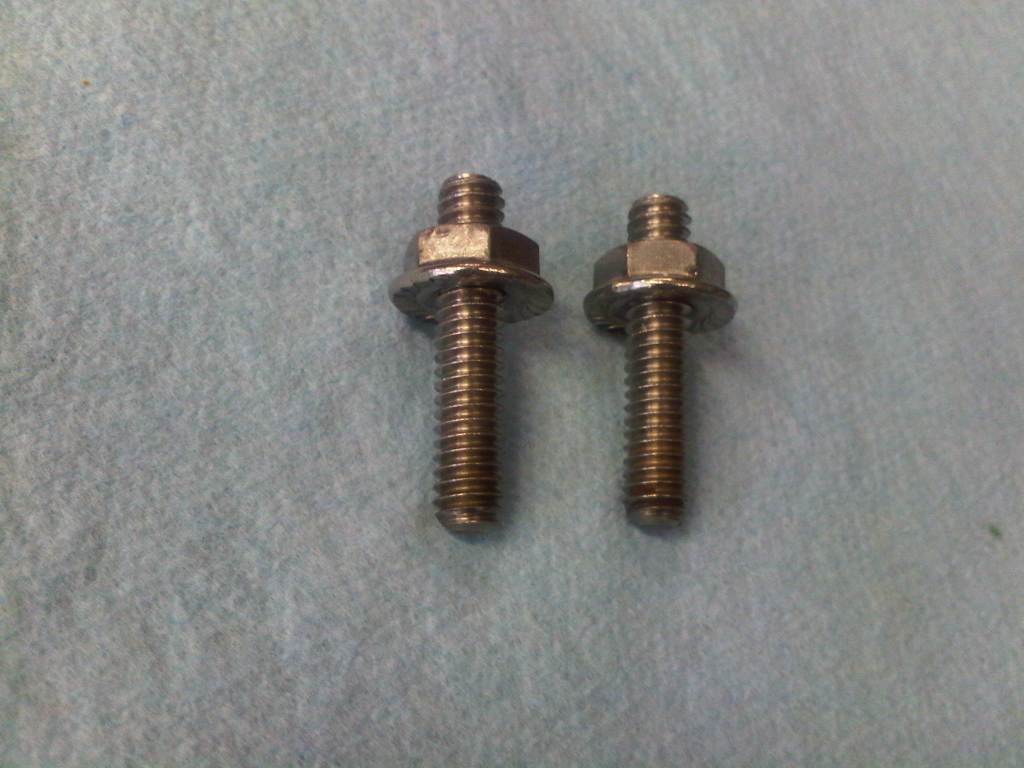
When unbolting the oil pan from the motor, two of the nuts were frozen onto the studs. This was a brand new set of Canton studs that I had been used just once. I called up Canton, who said they would ship out some replacements right away. The didnt arrive.
I ended up picking up some replacements at the hardware store.
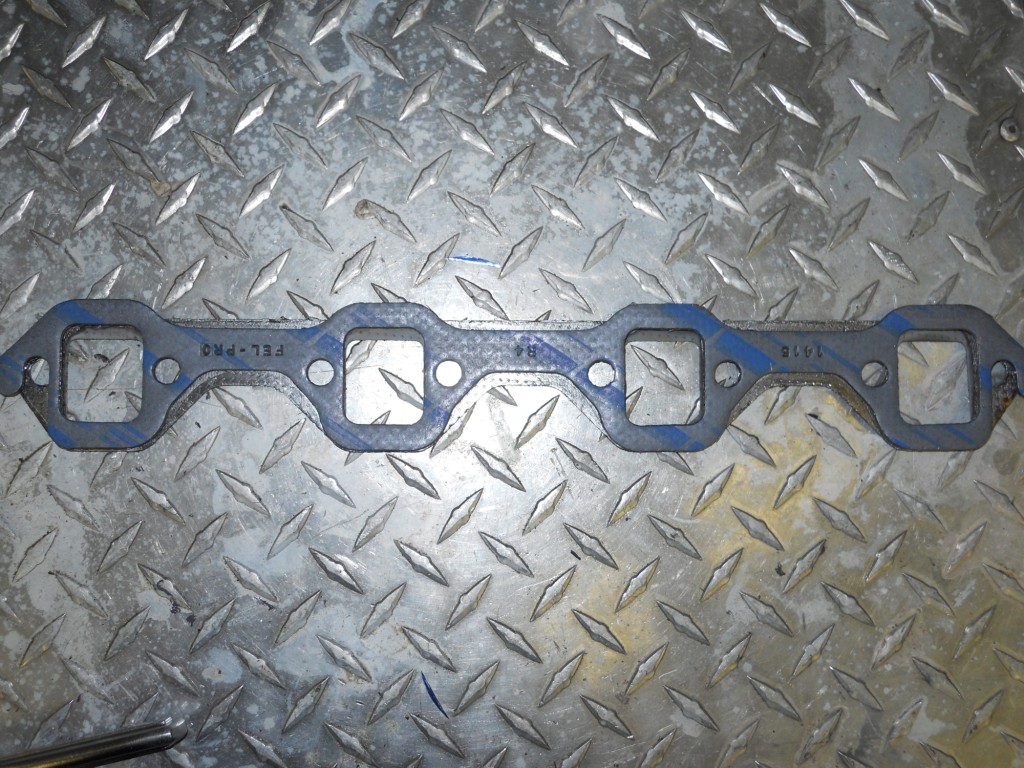
Next was the header gasket. Last time I put the headers on, I used a new set of Ford Racing gaskets, rather than Fel-Pro. When I prepped the headers for installation this time, I noticed that the gasket port opening was lower on the top than the opening of the header. I picked up a set of Fel-pro 1415 gaskets and that solved the problem.
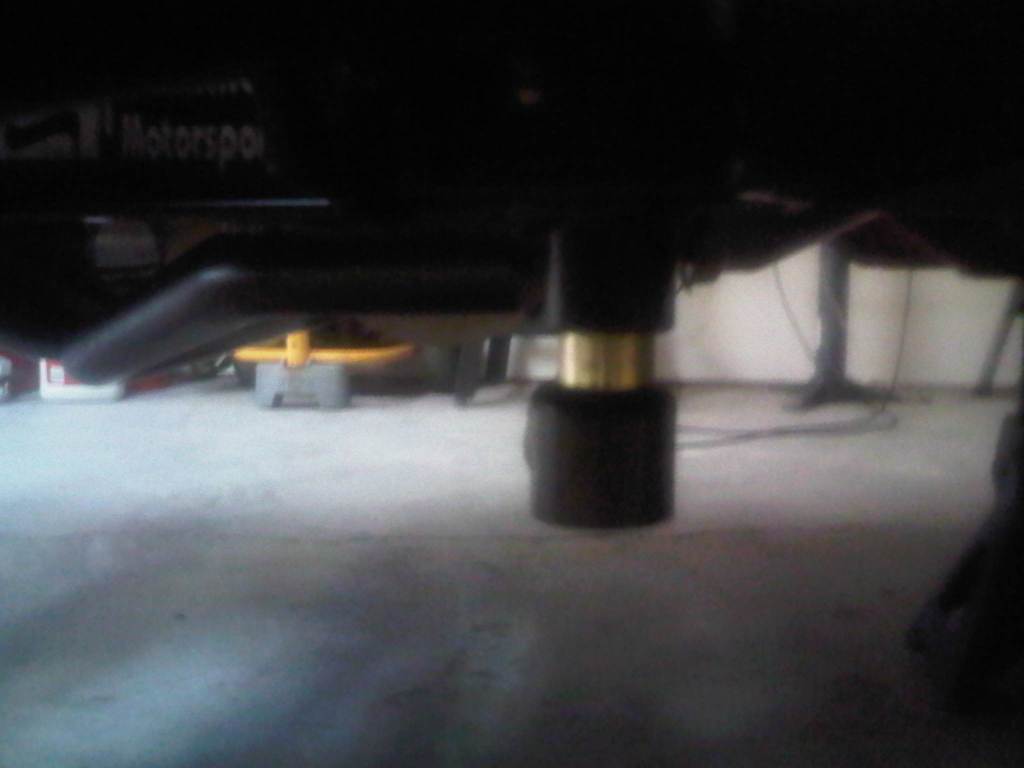
Finally the new motor mounts I installed changed the position of the motor relative to the chassis. The motor now sits 1/2 inch lower and 1/4 inch further back. This caused a problem with the bolt-in cross member on my Maximum Motorsports Tubular K-member. I had to install a large shim in order to give the oil pan enough clearance now.
That's all for now. My next race is at Daytona International Speedway on May 6th & 7th.
